In this article
Lash glue is the part of false lashes that many people dread. It dries before the strip is in place, ends up on your fingers, and for some people it stings or puffs up the eyelid. Glue-free lashes swap the adhesive for tiny magnets, and for many wearers that makes lashes easier to put on and take off. They are not a cure-all, though. Some styles need a magnetic liner that can bother sensitive eyelids, and others take practice before the two halves line up. This guide explains how glue-free lashes work, which kind suits your natural lashes and lids, how to wear them without frustration, and when to stop and get your eyes checked.
Why does lash glue cause so much trouble?
Two separate problems get lumped together under "I hate lash glue." The first is technique. A strip has to sit right along your lash line, and the glue has to be tacky at exactly the right moment. Apply too early and the strip slides; wait too long and it grabs nothing. One buyer who switched to a glue-free set said glue-on strips never lined up or stuck for them, even after years of trying, and another felt that glue-on lashes had made their thinner natural lashes look worse.
The second problem is skin. The FDA treats false eyelashes, lash extensions and their adhesives as cosmetics, points out that eyelids are delicate and that a reaction near the eye can be especially troublesome, and advises checking the ingredients of these adhesives before you use them (FDA eye cosmetic safety guidance). Some buyers of glue-free kits chose magnets for exactly this reason. One said a doctor had diagnosed an allergy to lash glues, and another said glue used to end up on their lids and fingers.
Magnets are a reasonable way around both problems, as long as you know what "glue-free" does and does not mean.
What does glue-free actually mean?
Most glue-free lashes fall into one of two designs, and each solves a different problem.
- Lashes that cling to a magnetic liner. The band carries tiny magnets and snaps onto a special liner painted along your lash line. There is no gap to line up, and you do not need natural lashes to hold on to. The liner is the part to think about: one listing describes it as containing ultra-fine magnetic particles, and it stays on your eyelid for as long as you wear the lashes.
- Two-piece lashes that snap together. A top piece and a bottom piece, each with small magnets, sit on either side of your own lashes like a sandwich. Nothing sticky touches your skin and there is no liner, but you need enough natural lashes to clamp onto, and the magnets on both halves have to face each other the right way.
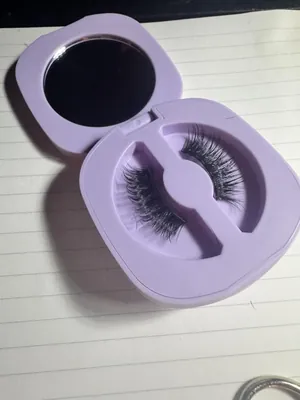
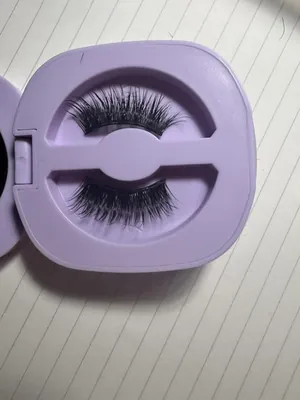
Kits often come with tweezers or an applicator, a small case, and several pairs in different lengths. The listing should tell you which method the lashes use, so read that line before you order.
Can a magnetic liner irritate your eyelids?
It can. Buyers of liner kits are split. Many say the liner goes on like ordinary eyeliner and holds all day. A noticeable share of the low-star comments describe burning, itching, puffy or swollen lids after wearing it, and some of those buyers had worn the same kind of lashes without trouble for weeks or even a year before a reaction appeared. One buyer who suspected a newer batch said the liner had changed, which is an impression rather than a confirmed cause.
One buyer who developed a reaction to a liner after about two years guessed that the iron oxide in it was the trigger. That is the buyer's own theory, not an established fact, but it makes a useful point: a magnet-based kit can still contain ingredients that bother your skin, and "no glue" is not a guarantee of "no irritation."
A few sensible steps follow from that. Read the ingredient list, just as the FDA suggests for lash adhesives. Try a small dab of liner on a patch of skin away from your eyes first; one eye-health site recommends patch testing lash glue this way, and the same caution makes sense for a liner that will sit on your eyelid for hours (All About Vision). If your eyelids react easily to cosmetics, a two-piece style that needs no liner is the safer place to start. And if your lids ever sting, swell or burn, jump to the last section of this guide.
Which glue-free style fits your lashes and eyes?
Start with what you have to work with: how many natural lashes you have, how your lids sit, and how much length your eyes can handle.
What if your natural lashes are short or sparse?
Two-piece lashes need something to grip. Buyers with fine or short lashes report the most trouble with them: one said the halves would not meet close to the lash line, and another could not get them to hold at all and needed help from a family member. A liner-based kit does not depend on your own lashes. One buyer who described their lashes as short, straight and nearly see-through said a liner kit finally gave them lashes they could wear without fuss, and another who is blond said the lashes grabbed the liner and stayed put, although they still needed mascara on their own lashes to blend.
What about hooded lids, glasses or contact lenses?
Liner sits on the lid, so it behaves differently if your lid folds over it. One buyer said the liner stayed slightly tacky even when dry, which was annoying with folding lids. Length matters with glasses: a buyer who wears them said their lashes were short enough that they could wear both together. Contacts need extra care. A buyer who wears them found their set less water-resistant than advertised and said it could be painful with lenses in. That is a good reason to do a trial run at home, not at an event.
How do you pick a length that does not poke your eyes?
Length is the most common complaint across every style. One buyer with smaller eyes said the tips touched their lower lash line when they blinked and made their eyes itch, and others trimmed the bands to fit. Trim a little at a time from the outer end and hold the lash against your lid before you attach it. With liner kits, trimming removes magnets, so retention can drop: one buyer removed a magnet from each full-length band to make them fit, and another liked tiny magnets because there were still five left after trimming.
A mixed set is a low-risk way to find your length, since you can try short, medium and long styles before settling on one.
The cat-eye set below is described in its listing as separate top and bottom pieces with eight magnets per pair, plus an applicator and a travel case. Several comments under it come from sets worn with lash glue, so check the pair contents when it arrives.
How do you put glue-free lashes on without frustration?
Expect a learning curve with either design. The fixes are different, so take them one at a time.
How do liner-based lashes go on?
- Start with a clean lid. Skin products can get in the way of the liner, so check your kit's instructions.
- Paint two to three thin coats of liner along the lash line, as you would a liquid liner. One kit's listing warns that a single thin coat will not hold.
- Let it dry completely. Listings range from about a minute to two or three minutes, so follow the one that came with your set. A buyer who loved their kit blamed most of the failures they had seen on rushed drying or too few coats.
- Set the lash on the liner with tweezers or the applicator, working from the middle outward, then press the inner and outer corners. One buyer nudged the corners into place with a cuticle stick.
- Choose the liner color carefully. One buyer found the brown liner in a kit too weak to hold and switched to black, and another said the clear liner showed the magnets as a spotty line.
Corners are where these lashes most often lift. Buyers reported corners rising after an hour or so, and two of them guessed they had not used enough liner.
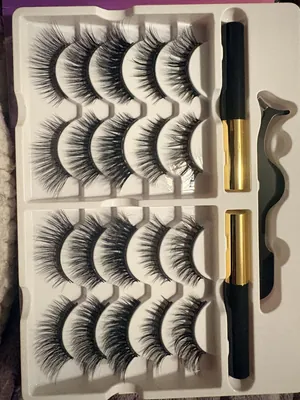
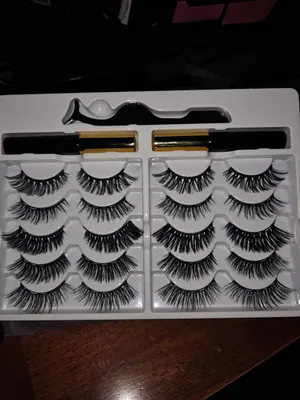
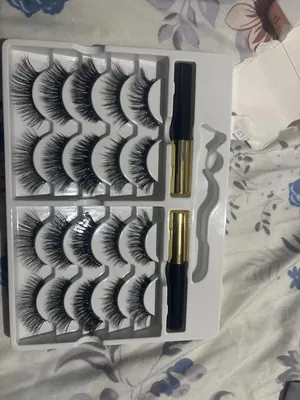
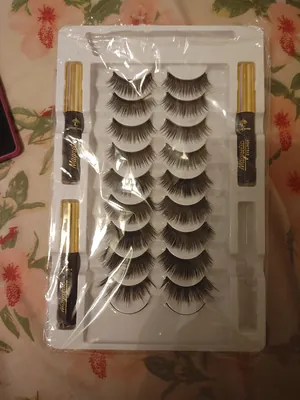
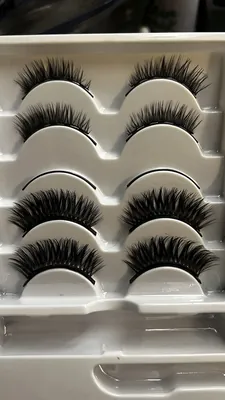
Kits like the next one are the budget end of the liner style. Buyers like the number of pairs for practice, and several mention that the liner is hard to take off, which we cover below.
How do two-piece lashes go on?
- Curl your natural lashes first and keep the lid free of other products. One buyer said to clean the applicator with a makeup wipe if mascara gets on it, or the lashes will stick to it.
- Gently separate the top and bottom pieces. A few pairs arrive stuck together, so go slowly to avoid bending the band.
- Load both halves on the applicator with the magnets facing each other. This step is where many first attempts go wrong.
- Place the applicator at the base of your natural lashes, press slowly, then open it gently and check that the lashes stayed put.
- Look at the pair before you give up. A few buyers found one half with a magnet flipped the wrong way or a band that did not match its partner, and that pair will never close properly.
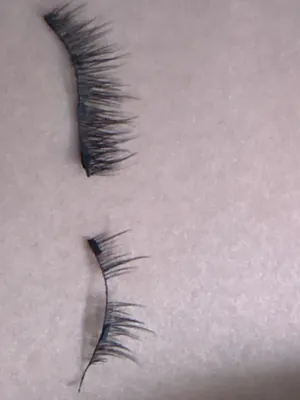
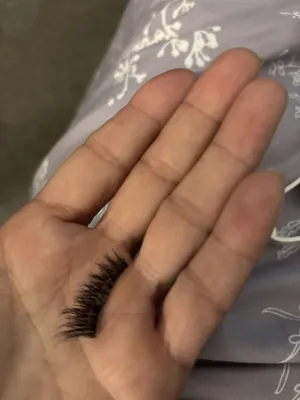
Buyers describe the learning curve in very different ways. Some said it took about five minutes to get the hang of it, one said they could snap them on in under 30 seconds after two weeks of daily wear, and others never managed. If you can place two clean attempts in a row, you are probably set.
How do you keep glue-free lashes on all day?
With liner kits, hold depends on coats and dry time. Buyers report eight hours or more, including through sweat, a windy day, and in one case a motorcycle ride at highway speed with safety glasses on. Others report lashes lifting after an hour or two, and water gets mixed reports: one buyer who wore theirs through rain and tears was happy, while another said the liner is not as waterproof as the listing claims. One buyer's advice for a long day was simply not to cry.
With two-piece lashes, a lash fixer or careful trimming helps. They also hold best on a clean lash with no oil or mascara clumps on it. Do not sleep in either type. Some buyers say they did, but sleeping in makeup is listed among the common causes of eye infections from false lashes (All About Vision).
How do you take them off, clean them and store them?
Lashes lift off easily for most buyers; the liner is a different story. Several describe it as hard to remove, and some used baby oil or an oil-based remover to loosen it. One buyer tried makeup remover, petroleum jelly and soap and water and still had to scrape at their lids. Others took it off with a makeup wipe. Work gently with an oil-based remover and a cotton pad. If you find yourself scrubbing or scraping, stop and consider whether that liner is right for you.
After wear, take off any residue and let the lashes dry fully before you put them away. Keep them in their own case and do not share them. Eye-health guidance lists bacteria from shared or reused lashes as a source of eye infections (All About Vision). Reuse numbers also vary: one listing promises up to 20 wears, but buyers report a more modest picture, and a few said the magnets worked loose from the band after two or three wears.
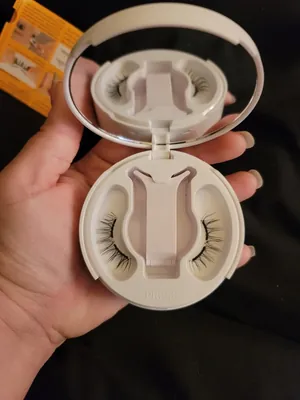
If you want lashes that travel well, the last set below is listed with two magnetic applicators, a small case with a mirror and an instruction sheet. Many comments under it come from lash professionals buying supplies, so judge it mainly on the listing; one buyer could not get the lashes to grip their own.
When should you stop and see an eye doctor?
Take lashes off and stop using the kit if you notice redness, swelling, itching, burning, pain, discharge or watery eyes, or blurry vision. If you wear contact lenses, take them out and switch to glasses until an eye doctor has looked at the problem (All About Vision).
The FDA advises contacting a healthcare provider first after a bad reaction to eye cosmetics, and it encourages people to report adverse reactions. It also says not to apply eye cosmetics during an eye infection, and to throw away the products you were using when it began (FDA). Several buyers who had reactions said theirs lasted for days or weeks, so do not wait it out.
If your eyes stay calm, glue-free lashes can be an easy way to get the look without the sticky part. Start with one pair, keep the first few wears short, and let your lids tell you whether the style suits you.