In this article
You can start soapstone carving at home with a pre-cut kit, a bowl of water, and an unhurried afternoon at the table. Soapstone is soft, so a hand file and sandpaper are enough to turn a rough animal outline into a smooth figure, and no experience is needed. What decides whether it goes well is not talent but a few habits: working wet to keep dust down, choosing a shape that suits the carver, and knowing what a starter kit leaves out.
Carving stone sounds like something that needs a workshop, a mallet, and years of practice. Soapstone is the exception. It is soft, so a hand file and sandpaper can turn a rough animal outline into a smooth figure on a kitchen table, and the people who come to it fresh are exactly who the starter kits are made for.
This guide covers what a first project really involves: how the stone behaves, what comes in a kit and what does not, how long it takes, how to keep the dust down, whether a child can do it alone, and the handful of things that trip people up.
Can a complete beginner really carve soapstone?
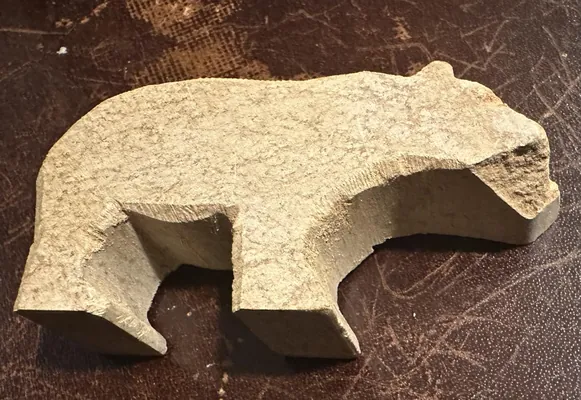
Yes, and the reason is the stone. Soapstone is made mostly of talc, one of the softest minerals there is, so it shaves away with a plain file instead of a hammer and chisel. Starter kits make it easier still: the block arrives already cut into a rough animal outline, so the first job is rounding and smoothing, not working out the shape from nothing.
One buyer who had never carved before described the first kit as a gentle introduction, and several said it was easy enough to finish in an afternoon. Another noted the downside of a soft stone: it is easy to take off too much, so the early passes should be light.
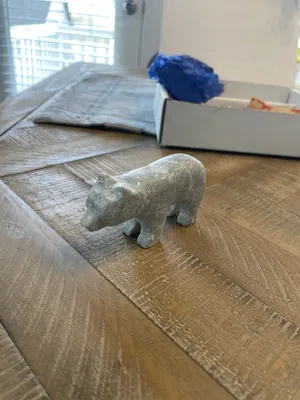
A starter kit usually gives you one thing the raw block does not: a finish line. The listing for the bear kit describes about 90 minutes from stone to polished figure, and buyers' accounts ran from about two hours for an adult up to a much longer stretch for a 13-year-old who was careful with details. Plan for an unhurried afternoon, not a quick activity.
What comes in a starter kit, and what do you still need?
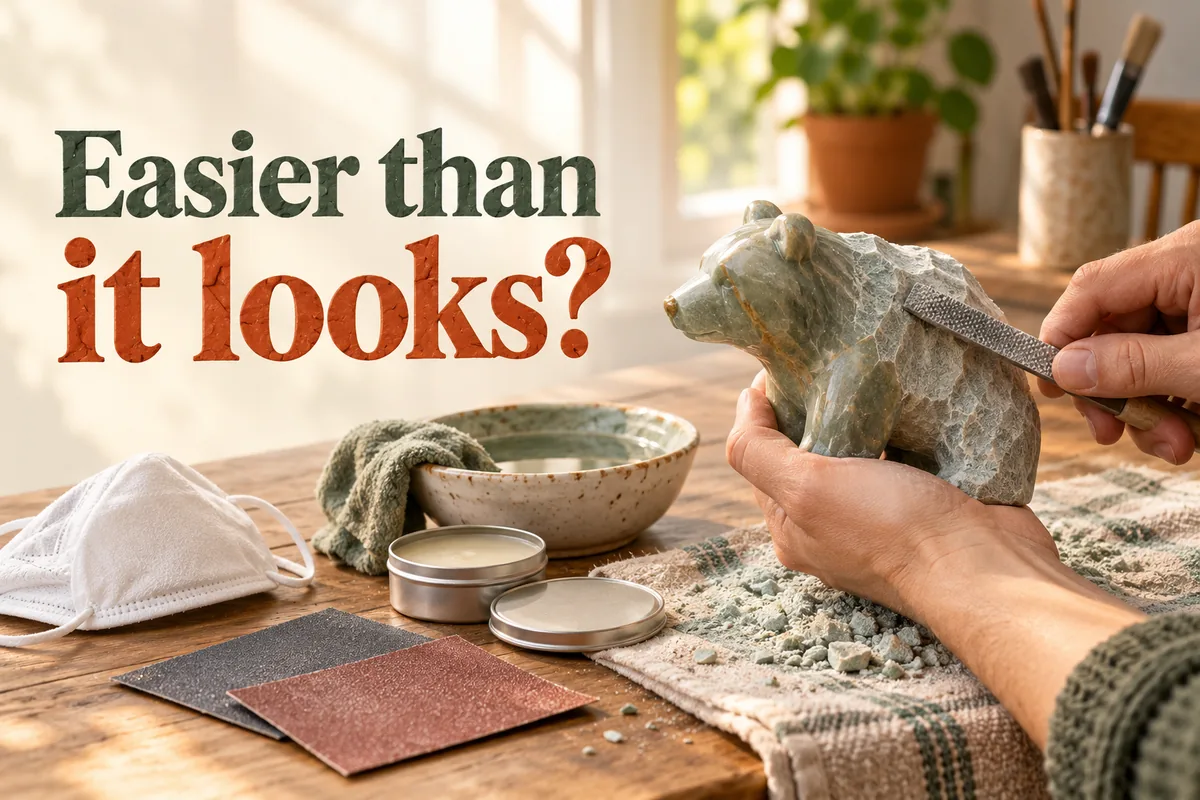
The kits in this batch share the same contents, according to their listings: a pre-cut block of natural Brazilian soapstone, a carving file, two grades of sandpaper, polishing wax, a buffing cloth, and instructions. Everything else is up to you, and buyers' accounts point to a short list of things worth having on the table before you start:
- A bowl of water and old towels. The listing advises dipping the stone in water while carving, which keeps dust down and keeps the table cleaner. Buyers called the project messy, with one doing it in the backyard.
- A dust mask and eye protection. One buyer specifically recommended a particle mask along with gloves and plenty of water. More on why below.
- A hair dryer. The wax step is where a few buyers stalled: one needed to warm the stone with a blow dryer for a significant amount of time so the wax would melt in, and another said the stone gets hot during the wax step, so gloves help.
- A second small file, if two people are working. One buyer carving with a partner noted the kit had only one scraper tool.
- Something to look at. The printed instructions in some kits are wordless diagrams, so having the finished picture on the box or a tutorial video open helps.
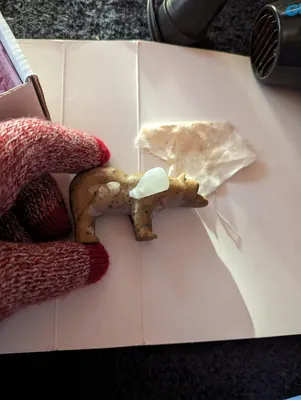
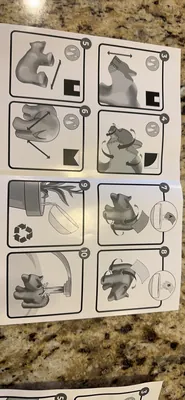
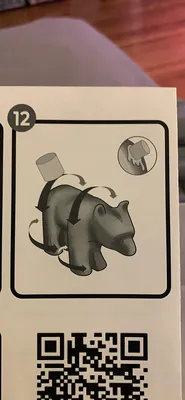
How does carving a soapstone figure actually go?
The steps are the same whichever animal you pick. The kit listings describe them this way, and buyers' experiences fill in the details:
- Study the outline. Look at the finished picture first. A buyer who followed the wordless diagrams said the pictures do not show the refinements that make the animal look right, such as rounding the body, so a reference image helps.
- File the big shapes. Work with the stone wet. Use the file to round corners and soften the angular cut edges. Short strokes in one direction leave cleaner marks than scrubbing back and forth.
- Move to coarse, then fine sandpaper. Sandpaper removes the file marks. Keep the stone wet here, too.
- Dry the stone fully, then wax. Rub in the polishing wax. If it will not soak in, warm the stone gently, as one buyer did with a hair dryer.
- Buff. The cloth brings up the shine and darkens the colors. Natural stone varies, so, as the listings note, every piece comes out a little different.
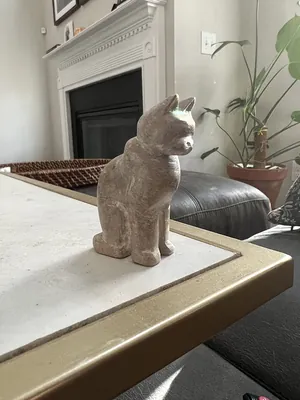
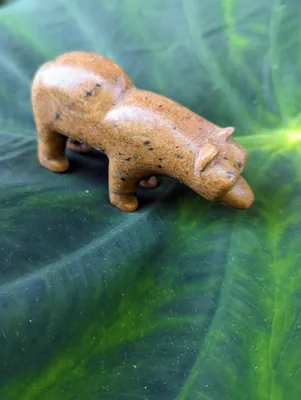
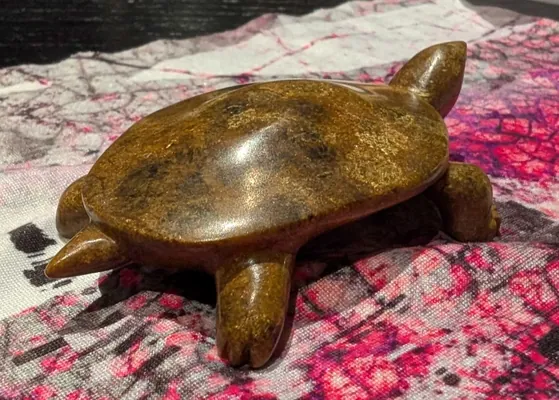
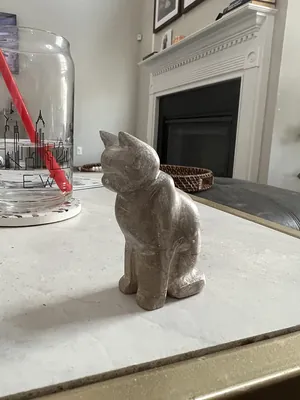
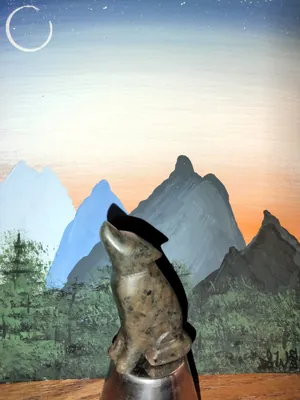
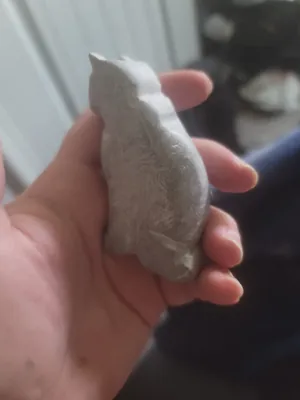
Two things buyers reported are worth planning around. First, the stone is soft enough to overdo: one buyer who found the carving too easy at times said the stone is easy to over-file, and one with a nine-year-old noted that rounding corners and shaping ears is where the carving happens, because the animal is already outlined. Second, rounder shapes forgive more than thin, upright ones. A turtle with a broad shell is easier to even out than a cat's narrow ears.
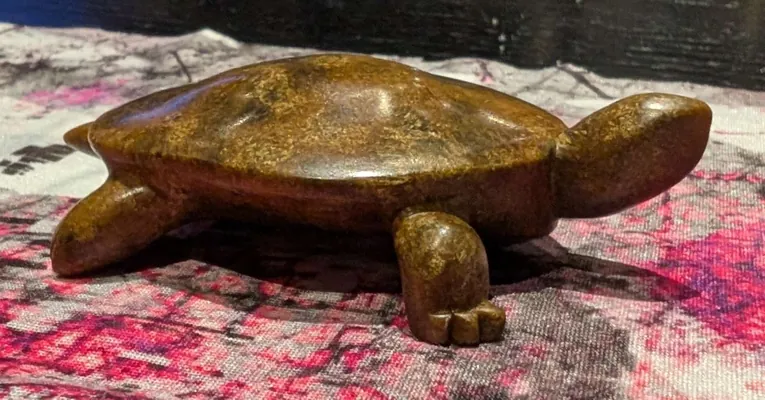
How do you keep the dust down and work safely?
Soapstone is a soft stone, but the file and sandpaper still turn it to fine powder, and that powder is what people who carve stone for a living guard against. The listings describe the kits as made with natural, non-toxic materials, which says nothing about breathing the dust in.
Stone-carving safety guidance, such as this overview of safety for stone sculptors, points to the same few habits: work wet so the dust stays in the water, wear a properly fitted respirator rated N95 or better instead of a cloth or surgical mask, wear eye protection, and avoid dry-sweeping the powder afterward. Some stone also contains quartz, whose dust is more hazardous than talc alone, and a NIOSH health hazard evaluation reported finding asbestos in a talc sculpting stone and advised against using a disc grinder on such material. That is one reason to buy stone from a supplier that tests what it sells and to stay with hand tools for a first project.
- Work at a table near a sink, outside if the weather allows, with a bowl of water within reach.
- Keep the stone wet while filing and sanding. Slurry that dries on the table turns back into dust, so wipe it up with damp towels and rinse your hands and the work surface before you eat or drink.
- Do not dry-sweep. Wet-wipe the table and rinse the tools.
- Wear the mask for the whole session if the stone gets dry, and for cleanup as well. Children should have a mask that fits their face, and an adult should supervise.
Can a child carve it alone, or does an adult need to help?
It depends on the child and on how much patience the file demands. The kits are listed for ages 8 and up, and buyers' accounts match that range loosely: one parent said a seven-year-old followed the step-by-step videos and finished it alone, while a nine-year-old and a ten-year-old each needed an adult's help to get the filing motion right and to finish. A grandparent mentioned that one of two grandsons enjoyed the process and the other got frustrated and put it aside for later.
Make it easier by deciding the job in advance: let the child handle the filing and sanding, and have the adult handle the wax step, which involves warm stone. Sit beside them for the first twenty minutes and then step back. A bowl of water and a towel on a tray keeps the table from becoming part of the project.
Adults take to it too. Several buyers described carving as an adult and enjoying the slow, quiet work, and two described working on it next to a partner. If you are carving with someone, the two-stone set keeps both people busy.
What if you want finer detail, and is a rotary tool worth it?
After a first figure, some people want crisper ears, eyes, or fur texture than a file gives. A rotary tool with small bits can do that, and one buyer who carved a cat kit finished the detail with a rotary tool of their own. Power also changes the work. It removes soft stone quickly, makes much more airborne dust, and heat is hard on cheap bits.
Buyers of a 52-piece diamond bit set reported a mixed picture: several found the variety useful for small detail work on stone, glass, and tile and said the bits fit their rotary tool, while others said the pointed tips wore out quickly, and one who cut letters into stone learned to slow down and keep the bit cool because it burned out when it got hot. The listing itself recommends goggles, gloves, and a mask. Remember that these bits fit a 1/8-inch shank, so check your tool's collet first.
For a first piece, though, a file is slower in the useful way. You see each change as it happens, and the cat's narrow ears survive.
What goes wrong with these kits, and how can you avoid it?
Buyers' complaints are fairly consistent, and most are avoidable:
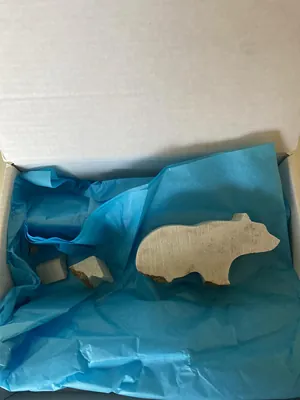
- Pieces arriving broken. A few buyers found a chipped nose or broken legs, and one said the return window had closed by the time they opened the box. Open it as soon as it arrives, and photograph any damage right away.
- Missing tools. A couple of buyers reported a missing file or polishing cloth. Check the contents against the listing on arrival.
- Instructions that do not explain enough. Buyers noted the printed pages are mostly pictures. A QR code points to videos, and one buyer said the company replied quickly with the original directions when asked.
- A smaller figure than expected. A few buyers said the finished piece is small, and one felt the price was high for what is in the box. The listed sizes run from about 1.5 to 3 inches, so picture something that fits in your palm.
- Going too far with the file. Stop and look often. Soft stone cannot be put back.
So where should you start?
Pick a shape that matches the carver and the patience available, set up a wet, covered table with a mask and a bowl of water, and set aside an unhurried afternoon. Start with light strokes, look at the finished picture often, and warm the stone before the wax step. Once the first figure sits on a shelf, you will know whether you want to try another, with finer detail, or leave it at one.