In this article
A garage that is freezing in January and an oven in July, a shed where tools rust, a floor over a crawl space that stays cold no matter how high the thermostat goes: these problems usually share two causes. Air moves through gaps nobody sealed, and the bare walls, ceiling, or band of framing around the edge have nothing slowing the heat. This guide explains where those gaps hide, why sealing comes before insulating, what a spray foam kit can and cannot do, how much foam a job really takes, how to stay safe while spraying, and when a pro is the better call.
Why does a garage, shed, or crawl space feel so cold in winter and so hot in summer?
Heat leaves a building two ways: through the materials themselves, and with the air that slips in and out. Most unfinished spaces lose a lot of both. The framing is bare or thinly insulated, the roof or walls may be a single layer of metal or plywood, and the edges, where framing meets concrete, are full of small openings.
That is why adding one thick layer of something to a wall often disappoints. If cold air still pours through the gaps around it, the room does not get much more comfortable. Energy-efficiency guidance from the government's ENERGY STAR program handles basements and crawl spaces in a set order: seal the gaps first, then insulate, then seal what is left (ENERGY STAR basement and crawl space project).
Should I seal air leaks or add insulation first?
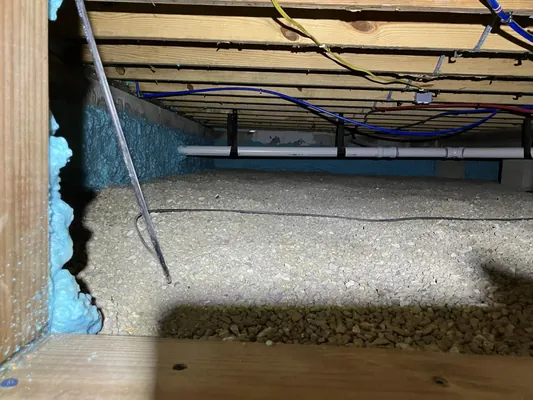
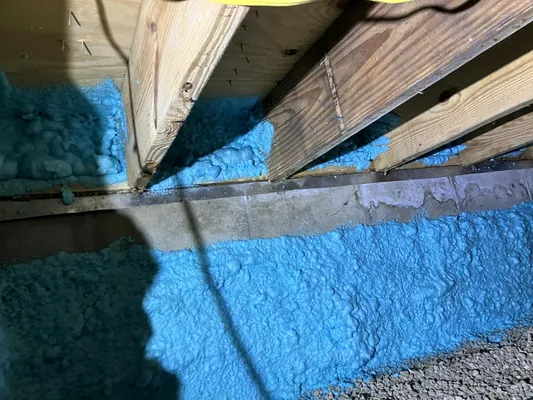
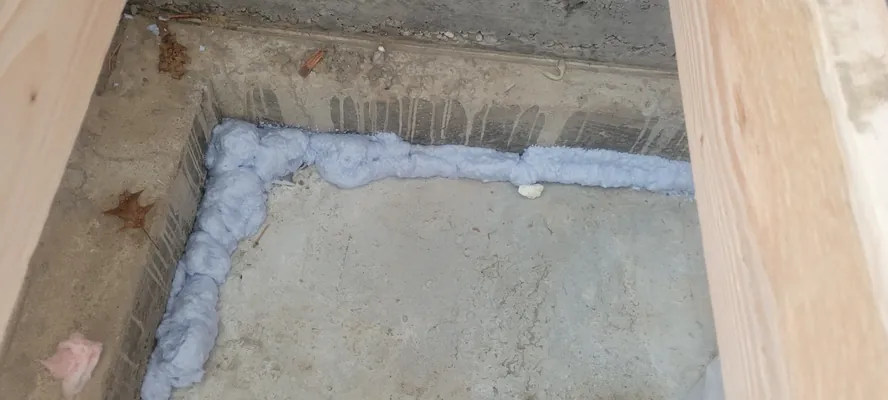
Seal first. ENERGY STAR's step-by-step uses caulk for gaps of about a quarter inch or less and spray foam for bigger gaps, and it points to the same places over and over: the top and bottom of the rim joist cavity, under the sill plate, around windows, around wiring holes and plumbing pipes, and at an outside-facing crawl space door.
A quick way to find leaks on a cold, breezy day is to run a hand along those seams and holes and feel for moving air. One buyer who sprayed foam around air-handler plenums in a garage said they could already see the leaks as streams of dust moving past the drywall joints. Mark each spot with painter's tape so you can find it again once the room is cluttered with plastic.
It is also worth knowing what sealing can change. ENERGY STAR notes that tightening a space can trap pollutants and may call for added ventilation, advises testing for radon first in a high-radon area, and suggests having a home performance contractor check draft on oil- or gas-fired appliances before and after sealing, since sealing can cause backdrafting. If your garage or basement holds a furnace or water heater, treat that as a real checkpoint, not a footnote.
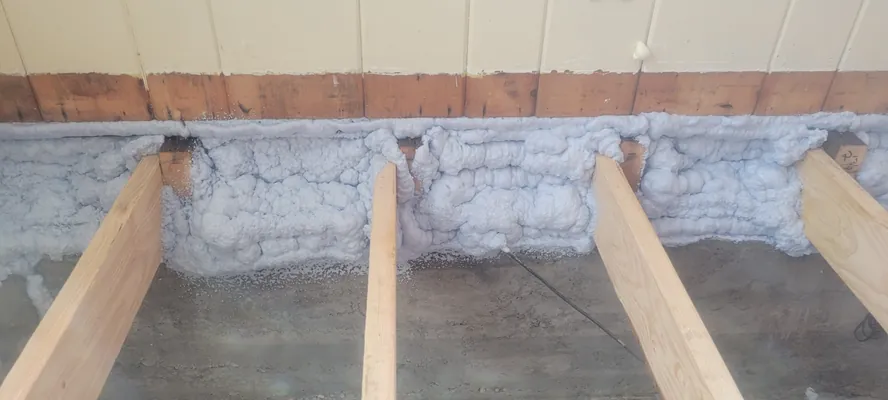
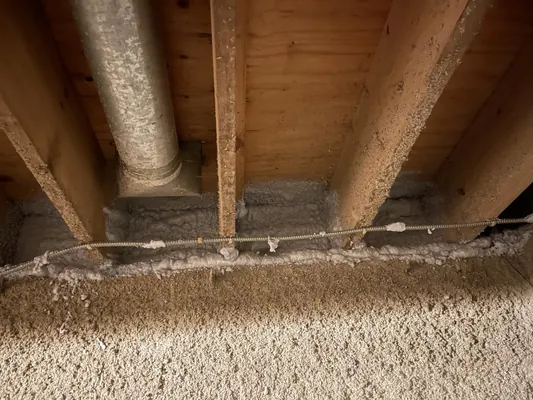
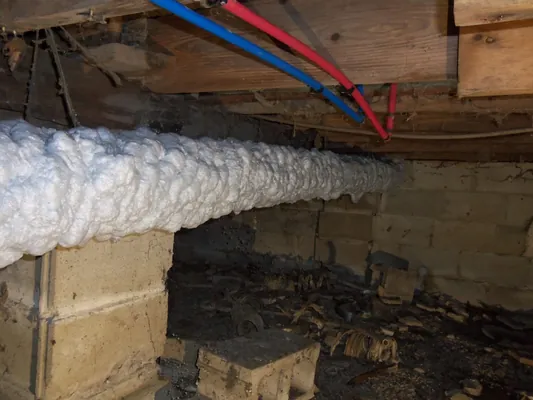
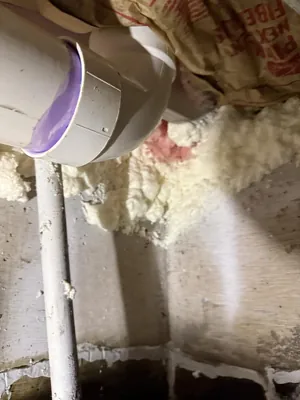
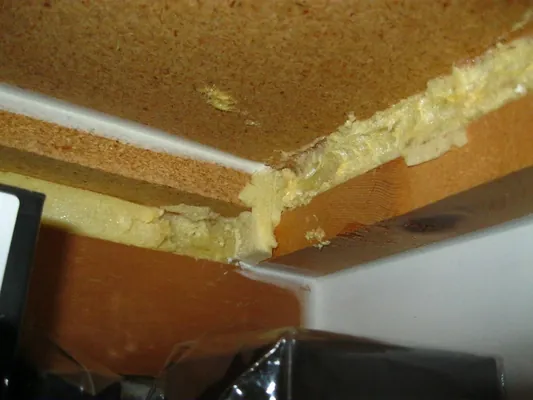
Is a spray foam kit the right tool, or would batts or rigid foam do?
Fiberglass or mineral wool batts and rigid foam board usually cost less per square foot, and nothing has to be sprayed. They also leave gaps if the framing is crooked, and batts do not air-seal anything by themselves. Spray foam fills the odd shapes around pipes, wiring, and uneven framing and sticks to what it touches, which is why it gets used for sealing and for tight corners.
The price difference is real, and buyers say so. One put spray foam at about four times the cost of batts and called it worth it for a small project but not for a big one. Another found that each can covered only about 4 by 12 feet, was $700 in, and wished they had used fiberglass. On the other side, one buyer pointed out that spray foam companies often set a minimum job price of $1,000 to $1,500, which leaves small jobs without a good option.
Kits come in two main forms:
- Can kits: a set of disposable foam cans plus a reusable gun, and sometimes a cleaner can and protective gear. The cans are screwed onto the gun one at a time.
- Two-tank kits: two pressurized tanks (one of each component) with a hose and gun. They are built for larger areas and are priced accordingly.
A simple rule of thumb: for sealing gaps, use a can of foam or caulk. For a small room, a garage bay, or a shed, a can kit is within reach of a patient first-timer. For a large crawl space or an entire building, the two-tank route or a professional crew starts to make sense.
What is the difference between open-cell and closed-cell foam, and how can I tell which one I am buying?
The Department of Energy's Building America guide to spray foam describes the basic difference. Open-cell foam is light and spongy, around R-3.6 per inch, and lets moisture through. Closed-cell foam is denser, up to about R-6.5 per inch, and does not let moisture through. Both are combustible (DOE spray foam guide). Because closed-cell foam blocks moisture, it is often the type people look for where damp is a worry, such as a crawl space or a rim joist.
Many kits sit somewhere between the two, and listings do not always spell out which. The R-values the listings in this group state work out to roughly R-4 to R-6 per inch, and some describe the product as a hybrid. Several buyers of two different kits said the cured foam felt or looked like open-cell foam even though the listing said closed-cell; one used a cut-out piece to show the porous, sponge-like structure. Another buyer worked out from the R-value that the foam is probably a mix of the two.
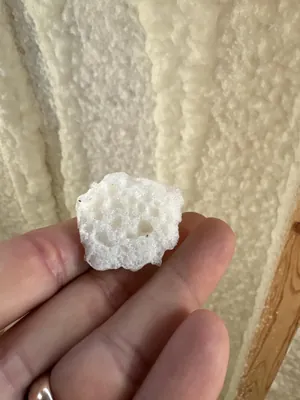
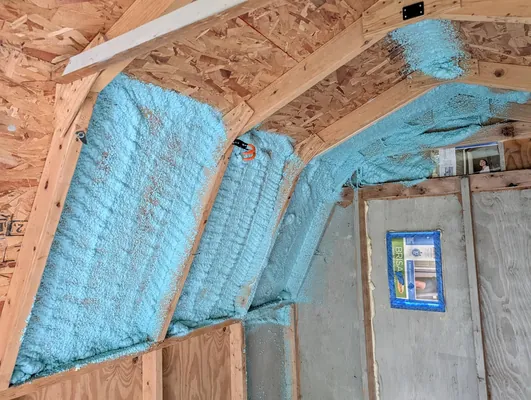
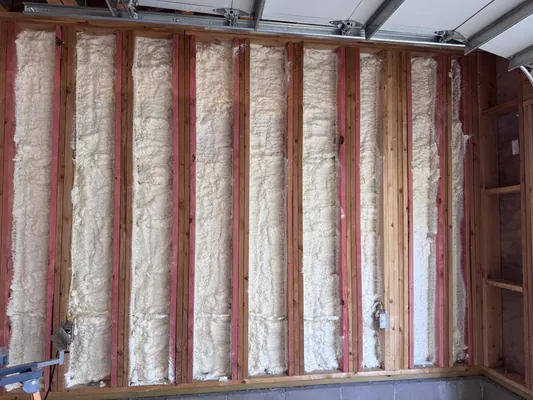
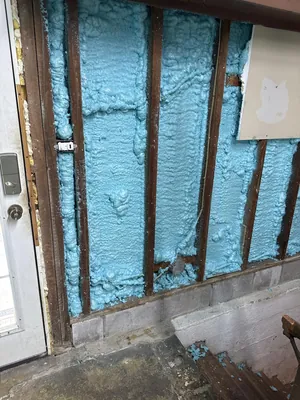
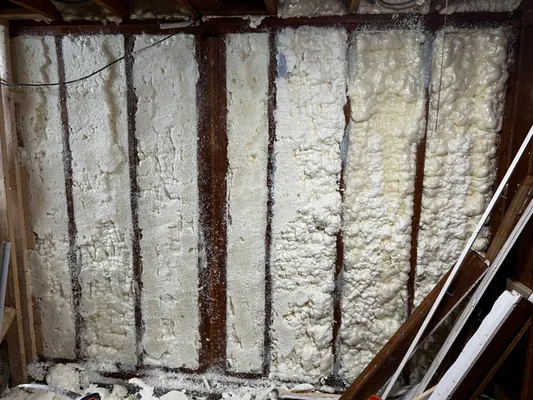
To avoid a mismatch, check three things before you buy: whether the label or data sheet says open-cell, closed-cell, or hybrid; the R-value per inch (not just the number at two inches); and whether the product is meant for the place you plan to use it. Several buyers said that once a can has been sprayed, the seller will not take it back.
Is it safe to spray foam myself?
It can be done at home, but it is a chemical job, not a caulk-gun job. The Environmental Protection Agency notes that the main ingredients, isocyanates, can cause asthma, sensitization (which can make later exposure worse), lung damage, and skin and eye irritation, and that people who apply it need appropriate protective gear and ventilation (EPA quick safety tips).
Plan the space around that. EPA guidance says occupants and other trades should stay out during the work and until the manufacturer's re-occupancy steps are met, and that unprotected people should not enter until the foam has cured and the area has been ventilated and cleaned. It says some manufacturers recommend about 24 hours for professional two-component systems, and that cans of one-component foam in the 12 to 24 ounce range may take around 8 to 24 hours to cure, so check the label for your product. The same page adds that people who come in afterward can be exposed to dust containing isocyanates if the foam was cut or disturbed and the space was not ventilated and cleaned first (EPA re-entry guidance).
In practice, that means:
- Wear the respirator, eye protection, gloves, and coverall that your product's label calls for. Several buyers said the foam ruins clothes and that the fumes are strong.
- Ventilate the work area with moving air, and keep kids, pets, and anyone else out until the label's re-entry time has passed.
- Shut down the HVAC system and seal the vents in the work area so fumes do not travel through the house.
- Wait until the label says the foam is cured before trimming it, and wear the same protection while you trim.
- Call for medical help if you have trouble breathing during or after the work.
Look at what a kit actually includes. Of the five in this group, two list a coverall or work suit with goggles and gloves, one adds a respiratory mask, one says only that safety items are included, and the two-tank kit says protective gear is not included. Coveralls and goggles do not replace a respirator.
Do I need to cover the foam after it cures?
Often, yes. A Department of Energy job aid for insulating rim joists says foam more than about 3.25 inches thick, or foam in a space people live in, needs a thermal barrier such as 1/2-inch gypsum board, and tells readers to check with local code officials (DOE rim joist job aid). A garage that opens into your house is worth asking about.
Listings use phrases like Class A fire rated, which refers to a standardized surface-burning test. It does not mean the foam cannot burn, and the foam guide above calls both foam types combustible. One buyer who used a foam in a fire-training container reported that it did the opposite of what the listing promised. Treat the rating as one data point, and ask your local building department which covering the code requires.
How do I get an even coat without making a mess?
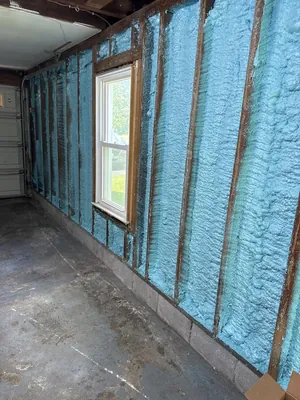
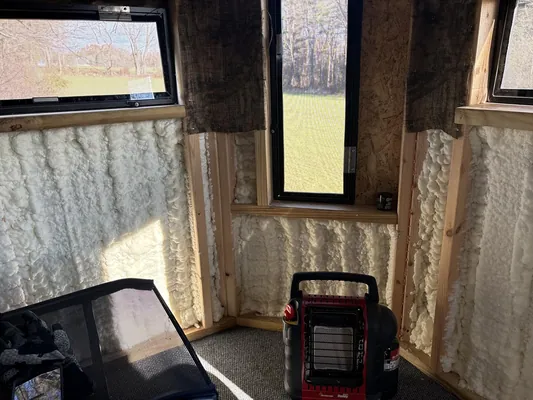
The most repeated advice from buyers who did it themselves is to go slowly and keep the layers thin. Buyers of three different kits said a coat applied too thick slid or fell off under its own weight. Foam also keeps expanding for a while, so the first pass should look thinner than you expect to need.
- Temperature matters. Listings in this group give working ranges anywhere from about 41°F to 90°F for the room or the can, and one says cans should sit near 68°F before use. One buyer who sprayed outside that range said the flow turned unpredictable, and another said a cold day made the underside of a roof hard to spray.
- Prep the surface. Clean off dust. Several buyers lightly misted the surface with water first and said it helped the foam stick, while one listing says the surface should be free of moisture, so follow your own product's label.
- Shake each can. Listings and buyers call for it. One buyer said to shake for at least 30 seconds, and another found that expansion still varied from can to can even after shaking.
- Learn the gun. Buyers describe an adjustment dial on the gun that changes the flow, and one found that turning it all the way closed disabled the trigger until it was opened a few turns. Another discovered that barely pulling the trigger made the foam expand more.
- Keep the tip clean. Wipe or swap the tip between cans, and use the cleaner can on the gun when you are done. One buyer of a two-tank kit said the tip fouled continually and had to be wiped as they went.
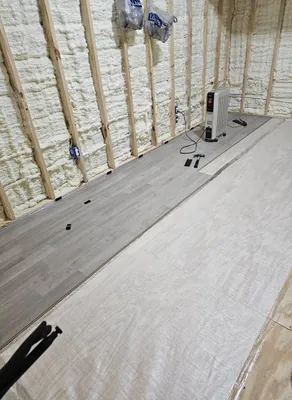
- Cover the floor and fix it down. Two buyers said the plastic sheeting shifted underfoot, and one suggested stapling it. The foam is very hard to clean off anything it touches.
- Work with a helper. Two buyers said spraying is easier with one person spraying and the other shaking cans and misting the surface.
How much foam will my project really take?
Spray foam is sold by coverage in board feet. One board foot is one square foot of surface at one inch thick, so 100 square feet at 2 inches is 200 board feet. Work out your area, pick a thickness, multiply, and compare that to the kit's listing.
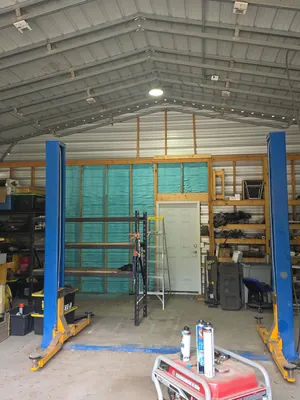
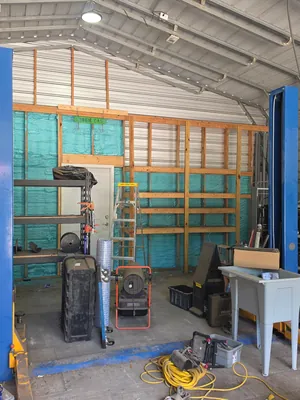
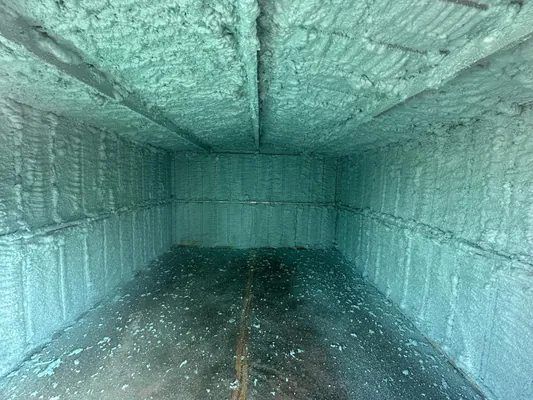
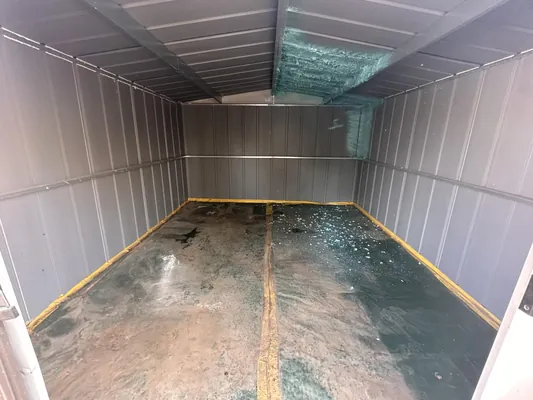
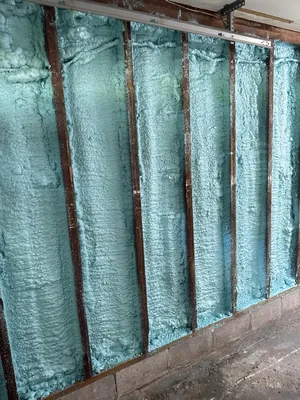
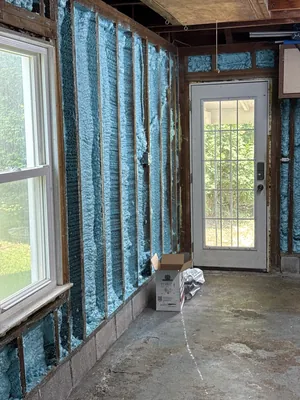
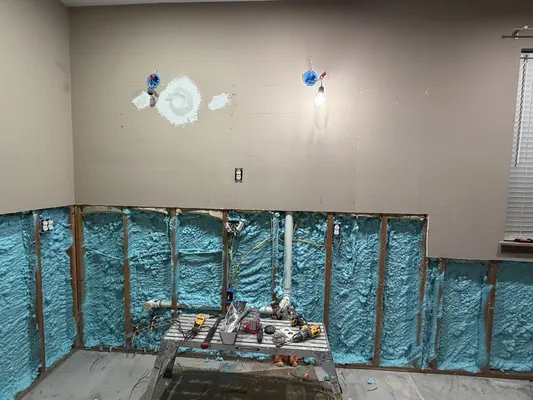
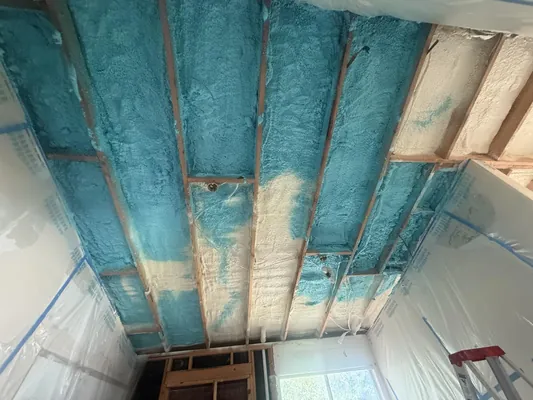
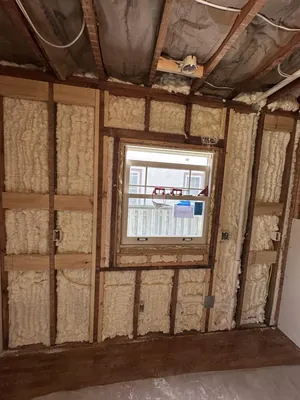
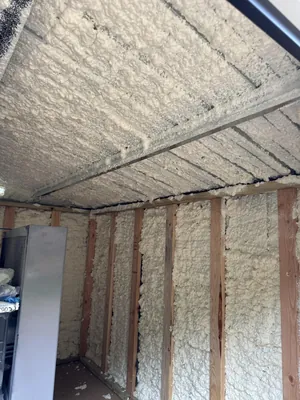
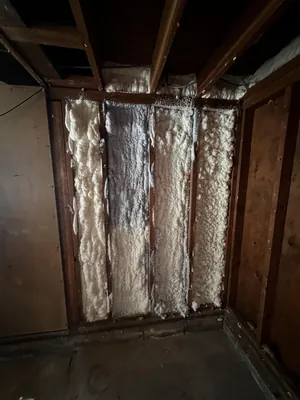
Buyers say real-world coverage often runs short of the number on the box, and some of the gaps are large. One used 24 cans on a 10-by-12-foot shed, which they put at around 10 square feet per can. Another needed 20 cans for a double-coat job on a garage wall. A buyer who foamed a 400-square-foot crawl space recommended ordering 25 percent more than your estimate, because it is hard to control the spray at awkward angles. Two other buyers said the coverage matched the listing, so thickness and technique clearly matter. Plan for extra, and treat the first can as practice.
The two-tank kits are built for larger areas, and they cost accordingly. One buyer foamed a crawl space with three kits in about five hours. One household said the spraying took about two hours but the cleanup took four days, and that the instructions allow the gun to sit unused for only about 60 to 90 seconds, which leaves little time to fix mistakes. A first-timer should read that as a case for a trial run on scrap before the real job.
Can I combine spray foam with fiberglass or mineral wool?
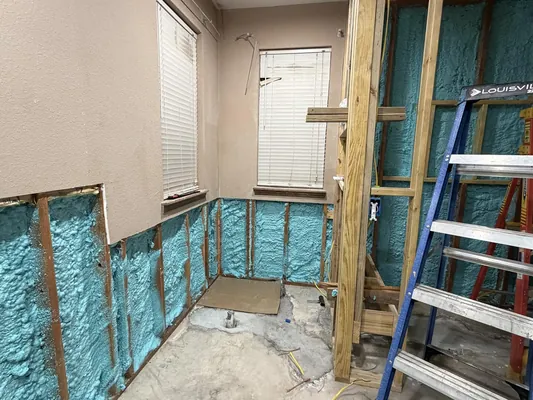
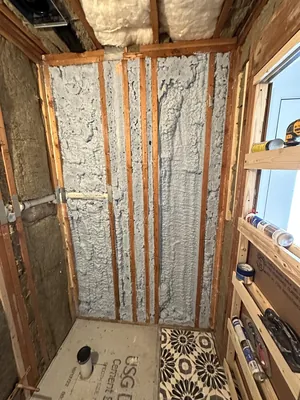
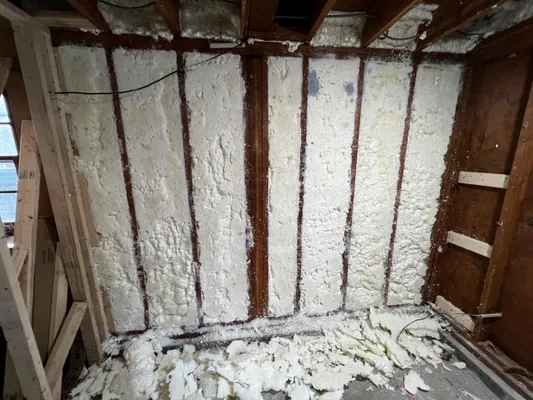
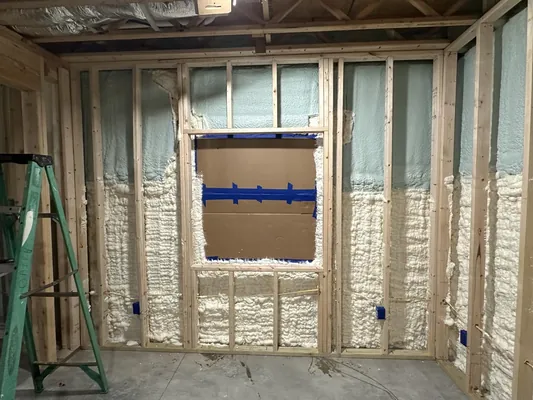
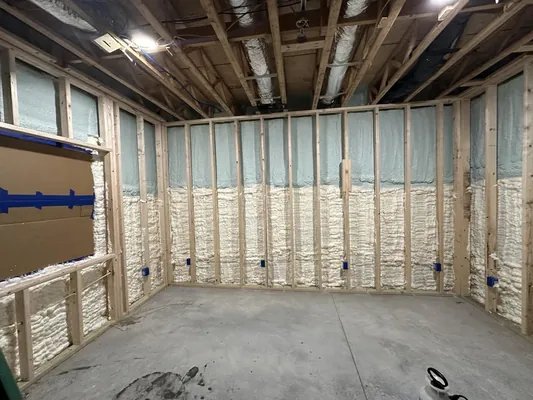
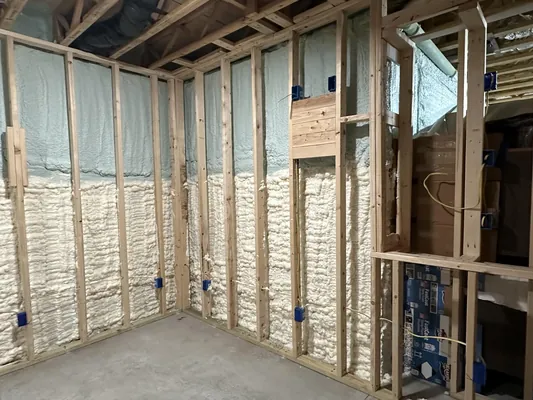
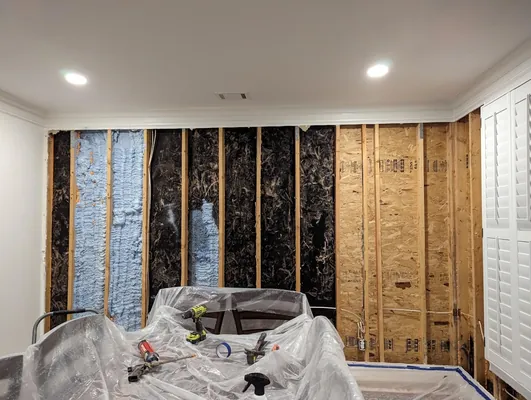
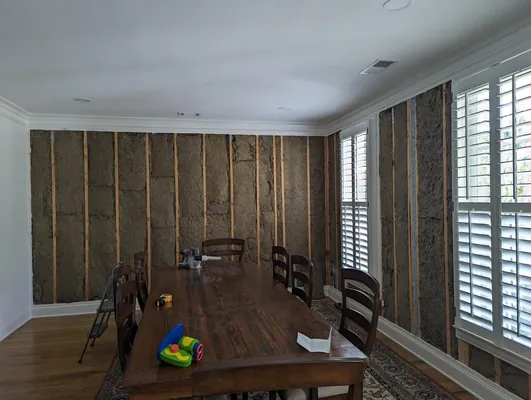
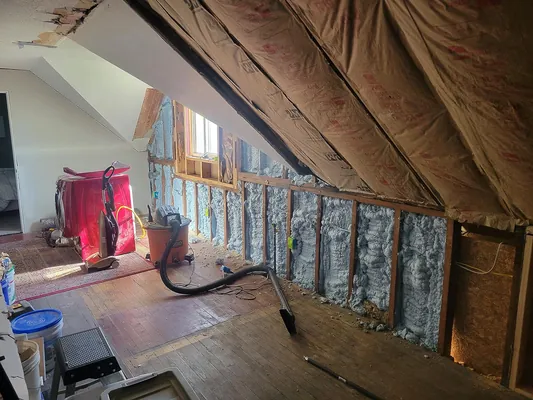
Yes, and it can stretch a kit further. One buyer used a thin layer of foam for air sealing and then fit mineral wool batts in the rest of each bay, a method builders call flash and batt. They found they got about 2 inches of foam where they had planned 1 inch, which meant cutting the batts in half to fit, and said that next time they would just buy more foam to fill the cavity. They also warned that in colder climates it is worth getting enough foam to keep moisture from condensing inside the wall in winter.
Another buyer skim-coated a concrete wall with foam and then put free fiberglass into the framing. Both examples sit on the same logic: foam handles the air sealing and the cold surface, and a cheaper material handles the bulk of the depth. Climate and code decide how much foam is enough, so ask your local building department if the wall is part of the house.
What about metal sheds, shipping containers, and vans?
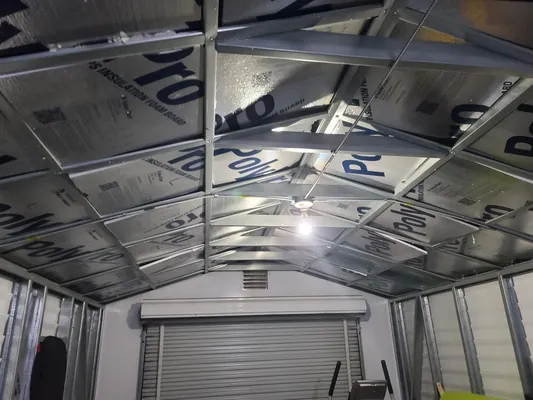
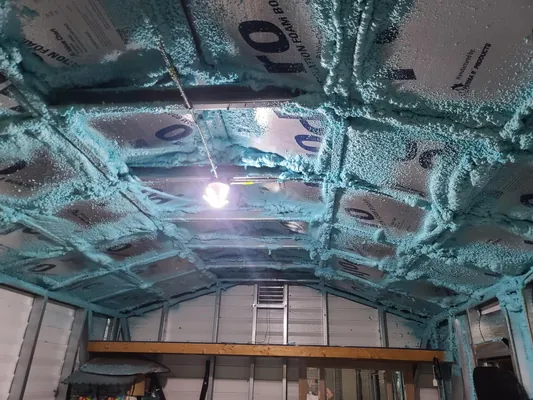
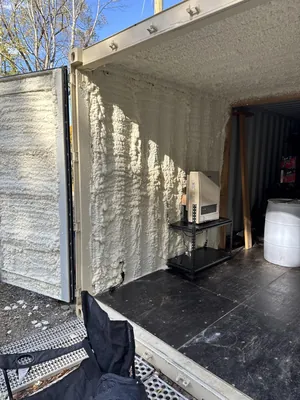
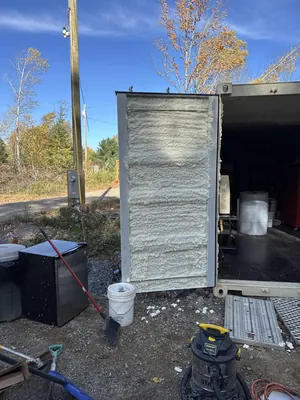
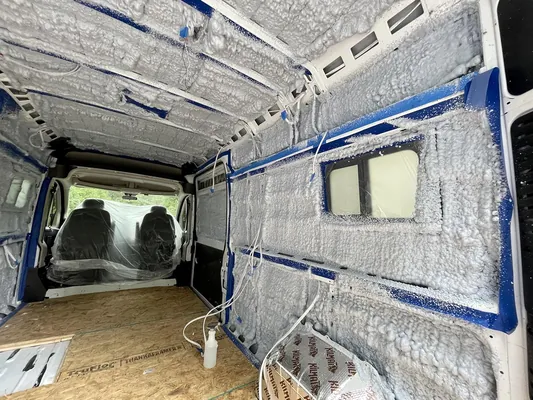
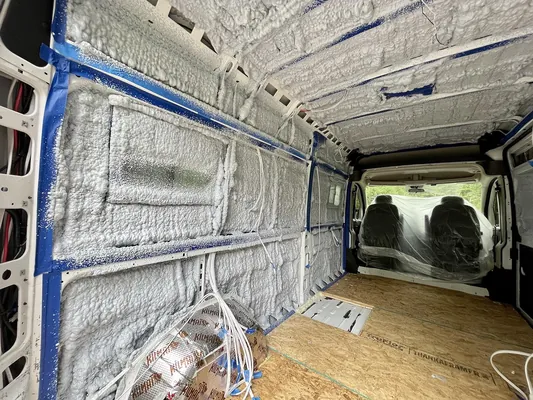
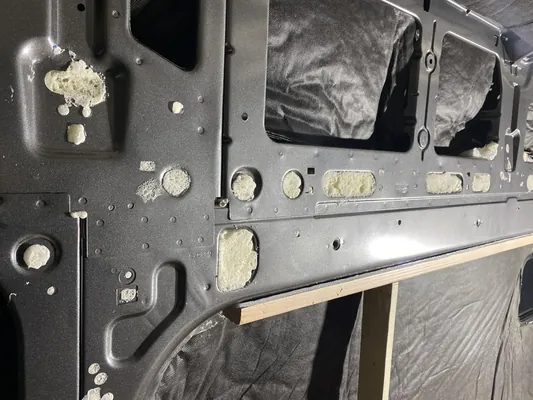
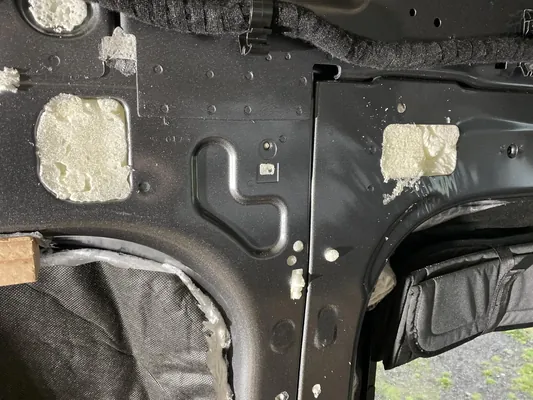
Metal buildings get very hot in summer and drip with condensation in cool weather, and they are a common reason people look at spray foam. One buyer sprayed the underside of a metal storage building's roof and noticed the building felt noticeably cooler a day later. Another sealed up gaps that let wasps in. Buyers also foamed the voids in a campervan and a cargo van, and photos from other jobs show the inside of a shipping container.
Check that your product is meant for bare metal, and prepare the surface the way the label says. One buyer wiped down, rinsed, and dried galvanized panels before spraying, and one listing in this group says surfaces should be clean and dry before spraying.
When should I hire a professional instead?
ENERGY STAR describes sealing and insulating a basement or crawl space as a moderate to difficult do-it-yourself project and points to qualified contractors for people who prefer not to take it on (ENERGY STAR). Some situations lean toward hiring out:
- A large area, such as a full attic, a whole basement, or an entire building shell. Buyers of several kits said the cost climbs fast on big areas.
- Spaces that open into the house, where a thermal barrier and code rules apply.
- A building with a furnace, water heater, or other fuel-burning appliance, where sealing can change how it vents.
- A high-radon area, or any space where you suspect moisture problems.
- Anyone in the home with asthma or breathing problems, or no room to keep the household out during the work.
One buyer in a remote area who sprayed their own cabin said the savings were large but that, with contractors nearby, it would be worth thinking hard about paying a professional.
What should I check when the kit arrives?
Spray foam is a hazardous item, and buyers repeat the same warnings. Open the box and check for cans that leaked or burst in transit. Several buyers reported cans that arrived empty, leaked, or went off before they were attached, and a few said those items could not be returned. Count the cans, and confirm the gun, tips, and cleaner are included, since a few buyers found the gun was a separate option. Keep the box and the packing slip until you have tested a can.
Then do a trial. Spray a bay or a seam in an out-of-the-way spot, wait for it to expand and cure, and see how it looks. If a can sputters, check the tip and the temperature before you blame the foam. If something is off, contact the seller before you spray the rest. Several buyers said the seller sent extra cans, replacement parts, or a new gun when they reached out.
When the foam is cured, trim what sticks out before you cover it, in the protective gear the label calls for. One buyer who waited until the drywall stage said they wished they had trimmed more, because the foam bowed the sheet. A long saw blade went through it easily, and the mess is considerable, so lay plastic first.